Linux Projects
以下项目都是我在已经完成之后补录的笔记,包括但不限于遇到的报错,问题。便于以后复现。实际上不能说是项目,仅仅是复现并且享受大佬的成果而已。开源不易,感谢大佬们开源!
ZeroTier 内网穿透
1.简介
官网:ZeroTier
ZeroTier Client :
The ZeroTier client is used to connect to virtual networks previously created in the ZeroTier Central web-based UI. Endpoint connections are peer-to-peer and end-to-end encrypted. STUN and hole punching are used to establish direct connections between peers behind NAT. Direct connection route discovery is made with the help of a global network of root servers via a mechanism similar to ICE in WebRTC.
2.安装
实际上十分简单,对于Windows,iPad,Android,macOS都有相应软件。

linux
- 安装
1 | curl -s https://install.zerotier.com | sudo bash |
- 操作:加入,离开,查看已经连接的网络
1 | zerotier-cli join <NETWORK ID> |
3.管理
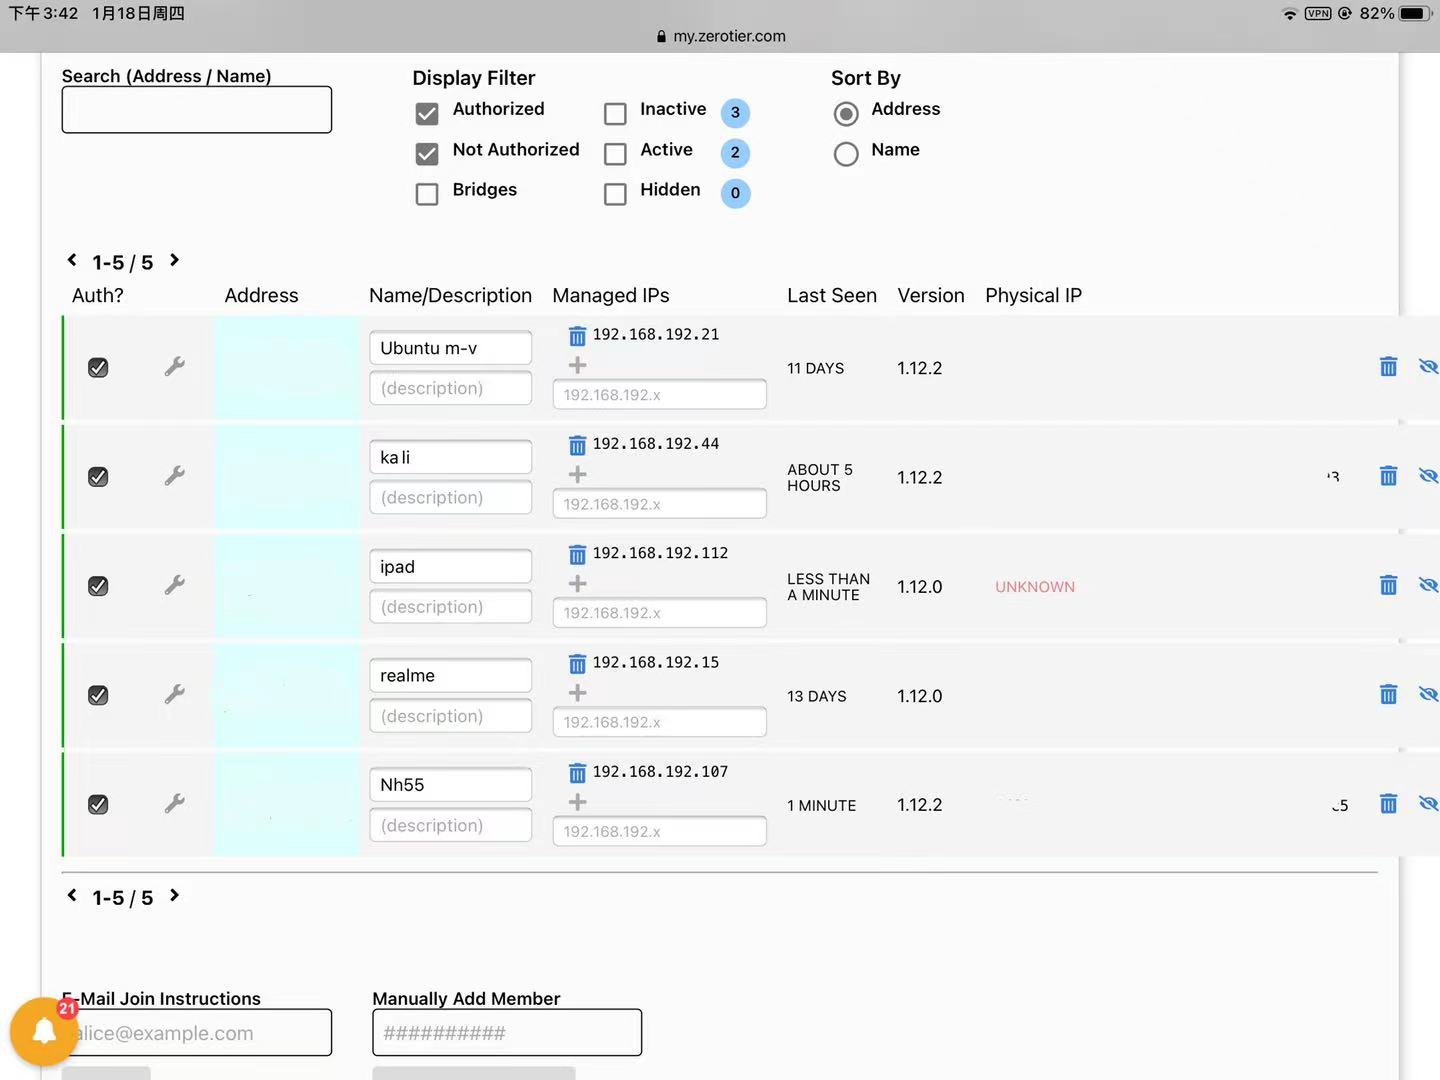
直接登录官网即可进行对已组网络的管理,例如授权用户,修改网络内部IP地址以及备注信息等等

4.Last
世上还是好人多啊,ZeroTier的出现真的让内网穿透方便了很多,免费用户的配置也很不错!
FTP 服务器搭建
MQTT服务器搭建(mosquitto)
0.简介
- 简介
MQTT也称为”消息代理”(Broker)。
MQTT是一个基于客户端-服务器的消息发布/订阅传输协议。MQTT协议是轻量、简单、开放和易于实现的,这些特点使它适用范围非常广泛。在很多情况下,包括受限的环境中,如:机器与机器(M2M)通信和物联网(IoT)。其在,通过卫星链路通信传感器、偶尔拨号的医疗设备、智能家居、及一些小型化设备中已广泛使用。
- 原理
MQTT协议原理
MQTT协议实现方式
实现MQTT协议需要客户端和服务器端通讯完成,在通讯过程中,MQTT协议中有三种身份:发布者(Publish)、代理(Broker)(服务器)、订阅者(Subscribe)。其中,消息的发布者和订阅者都是客户端,消息代理是服务器,消息发布者可以同时是订阅者。MQTT传输的消息分为:主题(Topic)和负载(payload)两部分:
(1)Topic,可以理解为消息的类型,订阅者订阅(Subscribe)后,就会收到该主题的消息内容(payload)
(2)payload,可以理解为消息的内容,是指订阅者具体要使用的内容。
1. mosquitto 服务端
- 安装
1 | apt install mosquitto |
- 配置
1 | cd /etc/mosquitto |
- 修改配置文件
在 /etc/mosquitto/conf.d目录下有一个叫 README 的文件,上面写了信息:
Any files placed in this directory that have a .conf ending will be loaded as config files by the broker. Use this to make your local config.
1 | cd /etc/mosquitto/conf.d |
- 运行配置文件
1 | mosquitto -c /etc/mosquitto/conf.d/config.conf -v |
- 添加用户
1 | mosquitto_passwd -c /etc/mosquitto/pwfile.example username |
- 关闭防火墙!!!
1 | ufw disable |
2. mosquitto-clients 客户端
- 用户登录订阅,发布
其实一般都是接近被控设备的系统,比如各种Mcu(esp32,esp8266)等等。这部分将在寒假进行补充(在另外一篇博客)。esp8266或者esp32等
对于Linux客户,可以是模拟器( ISH ,Termux)
- 安装
1 | apt install mosquitto-clients |
- 订阅
1 | mosquitto_sub -h "IP address" -p 1883 -u username -P regen -t "test" |
- 发布
1 | mosquitto_pub -h "IP address" -p 1883 -u username -P regen -t "test" -m "hello mqtt! hello ! mosquitto!" |
3. mosquitto使用
- 脚本制作
为了方便 mosquitto 的使用,可以写几个脚本用于发布和订阅
- 发布
1 | vim regenMosquittoScriptSendRemote.sh |
赋权
1 | chmod 777 regenMosquittoScriptSendRemote.sh |
运行
1 | ./regenMosquittoScriptSendRemote.sh hello! |
- 订阅,同理
1 | vim regenMosquittoScriptSubRemote.sh |
赋权
1 | chmod 777 regenMosquittoScriptSubRemote.sh |
运行
1 | ./regenMosquittoScriptSendRemote.sh topic |
- 连接esp32或8266
自建服务器(搭配ZeroTier食用)
1. begin
虽然和hxy合伙买的白菜价国外服务器性能也还够用,但是也仅仅是够用,之前发现的内网穿透神器Zerotier刚好可以拿来当我的梦中情机的最后一块拼图。使用ZeroTier就可以让我方便的在SH连接到JX的家中局域网内的服务器了!
2.介绍
1.硬件介绍
硬件部分的清单:
CPU : E3 1230 v2 (4核8线,3.3ghz)
显卡 : gt610 (亮机即可,且低功耗)
内存:8g
外存:240(固态)+500(机械)
2.软件介绍
由于我正在使用的pc中恰好有四个下载好的镜像文件,分别是 macOS.Ventura_13.4 , deepin ,ubuntu22.04,kali2023,最终使用的是kali,原因在于kali已经安装好绝大部分软件和其需运行的环境,例如:httpd,JDK,javarun,makefile等等。
3.组装(跳过)
4.配置ZeroTier(如上篇ZeroTier内网穿透)
5.结束
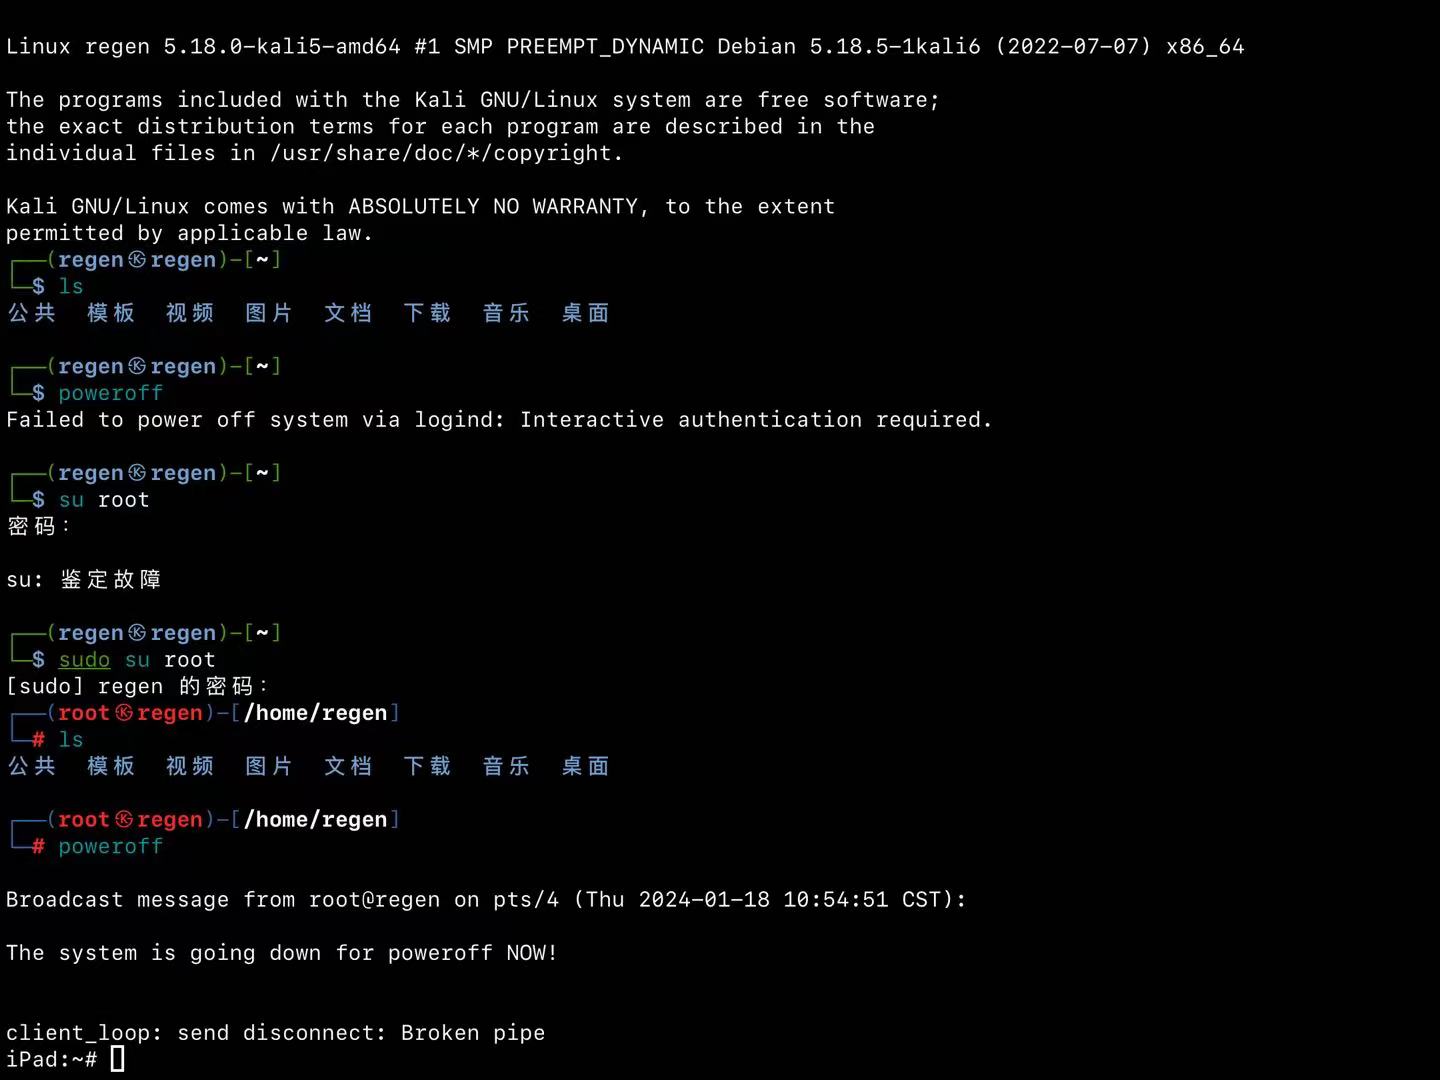
最终效果,通过ipad的终端ssh外网连接kali

makefile
1.make简要介绍
In software development, Make is a build automation tool that builds executable programs and libraries from source code by reading files called makefiles which specify how to derive the target program. Though integrated development environments and language-specific compiler features can also be used to manage a build process, Make remains widely used, especially in Unix and Unix-like operating systems.
Make is not limited to building programs. It can also be used to manage any project where some files need to be updated automatically from other files whenever the other files change.
2.makefile简要介绍
makefile文件用于告诉make命令如何执行编译和链接。
当一个文件具有很多个.c文件和.h文件时,如果将makefile写好了,就只需要一行代码make即可完成编译链接或者make clean删除所有目标文件,同时还能具备以下特性:
1.如果这个工程没有编译过,那么所有C文件都会编译并被链接。
2.如果这个工程的某几个C文件被修改,那么只编译被修改的C文件,并链接目标程序。
3.如果这个工程的头文件被改变了,那么我们需要编译引用了这几个头文件的C文件,并链接目标程序。
3.makefile的规则
1 | target ... : prerequisites ... |
- target : 目标文件(可以使object文件,可执行文件,还可以是标签)
- prerequisites :生成target所需要的文件或是目标。
- command也就是make需要执行的命令。(Shell命令)
4.makefile的使用
makefile的规则看似十分简单,但是写好一个makefile却是不简单的。下面举例说明```
1 | #假设已经存在3个c文件,4个.h文件,分别是: |
如果我们最终想要生成可执行文件main,那么makefile可以这样写,以下是我使用在线makefile生成器生成的。
同时介绍一下gcc的参数:
-g可执行程序包含调试信息
-g为了调试用的
加个-g 是为了gdb 用,不然gdb用不到-o指定输出文件名
-o output_filename,确定输出文件的名称为output_filename,同时这个名称不能和源文件同名。如果不给出这个选项,gcc就给出-c 只编译不链接
产生.o文件,就是obj文件,不产生执行文件-D 其意义是添加宏定义
-w的意思是关闭编译时的警告,也就是编译后不显示任何warning,因为有时在编译之后编译器会显示一些例如数据转换之类的警告,这些警告是我们平时可以忽略的。
-W选项类似-Wall,会显示警告,但是只显示编译器认为会出现错误的警告。
-Wall选项意思是编译后显示所有警告
1 | # |
cmake
1. 简要介绍
From Wikipedia, the free encyclopedia
In software development, CMake is cross-platform free and open-source software for build automation, testing, packaging and installation of software by using a compiler-independent method.[3] CMake is not a build system itself; it generates another system’s build files.[4] It supports directory hierarchies and applications that depend on multiple libraries. It can invoke native build environments such as Make, Qt Creator, Ninja, Android Studio, Apple’s Xcode, and Microsoft Visual Studio.[4] It has minimal dependencies, requiring only a C++ compiler on its own build system.[4]
CMake is distributed as free and open-source software under a permissive BSD-3-Clause license.[
我的理解就是cmake是一款能够夸平台的生成makefile的工具,这样就不需要写复杂的makefile了。
2. cmake使用
1.使用流程
1. 在项目根目录下创建一个名为` CMakeLists.txt`的文件
- 编写该文件(当文件比较少的时候)
1 | cmake_minimum_required(VERSION 3.15) # 版本要求 |
- 使用cmake命令生成makefile
- cmake命令的使用
1 | Usage |
- 使用make得到输出
2.单个源文件的项目
- 编写main.cpp
1 |
|
- 编写CMakeLists.txt
1 | cmake_minimum_required(VERSION 3.15) |
- 创建输出文件夹并且进行输出
1 | mkdir build |
- 使用make进行编译链接即可得到可执行文件
firstOut
1 | make |
3. CMakeLists.txt 的写法
1.使用set
- 定义变量 set ,类型为字符串
1 | set(outName[forstOut]) |
- 使用宏
1 | set(CMAKE_CXX_STANDARD 11) # 指定c++标准的宏 |
- 取值
1 | ${outName} |
2.文件搜索(便于源文件很多的情况)获取源文件名字
建议将源文件放在独立的目录下,便于获取源文件名字。
- 使用
aux_source_directory(< dir > < variable >)
1 | aux_source_directory(< dir > < variable >) |
- 使用file(用于应对很多源文件在不同目录的情况)
- 后缀搜索目录下所有源文件
1 | file(GLOB MAIN_SRC ${PROJECT_SOURCE_DIR}/src/*.cpp) |
- 头文件与源文件分开放的处理方法
- 使用宏
1 | include_directories(headpath) |
3.静态库和动态库
pause.打算在下次用到的时候补充
